Item Tags
Item Tags let you label inventory items with helpful identifiers (like Vegan, Gluten-Free, Spicy, or Best Seller). These tags appear across customer-facing menus and help customers make quicker, more informed decisions during ordering.
Understanding Item Tags
Tags are applied when creating or editing an item from the Allergens, Tags & Calories section in the item setup page. You can select one or more tags from the active list.
Once applied, these tags will:
- Display on customer-facing menus like POS, kiosk, and online ordering
- Help customers quickly identify items that match their preferences or needs (e.g. ’Vegan, No Nuts, Popular)
- Appear with a colour label to make them easier to scan visually
Tags are especially useful in cafes, restaurants, and retail environments with a variety of dietary or promotional options.
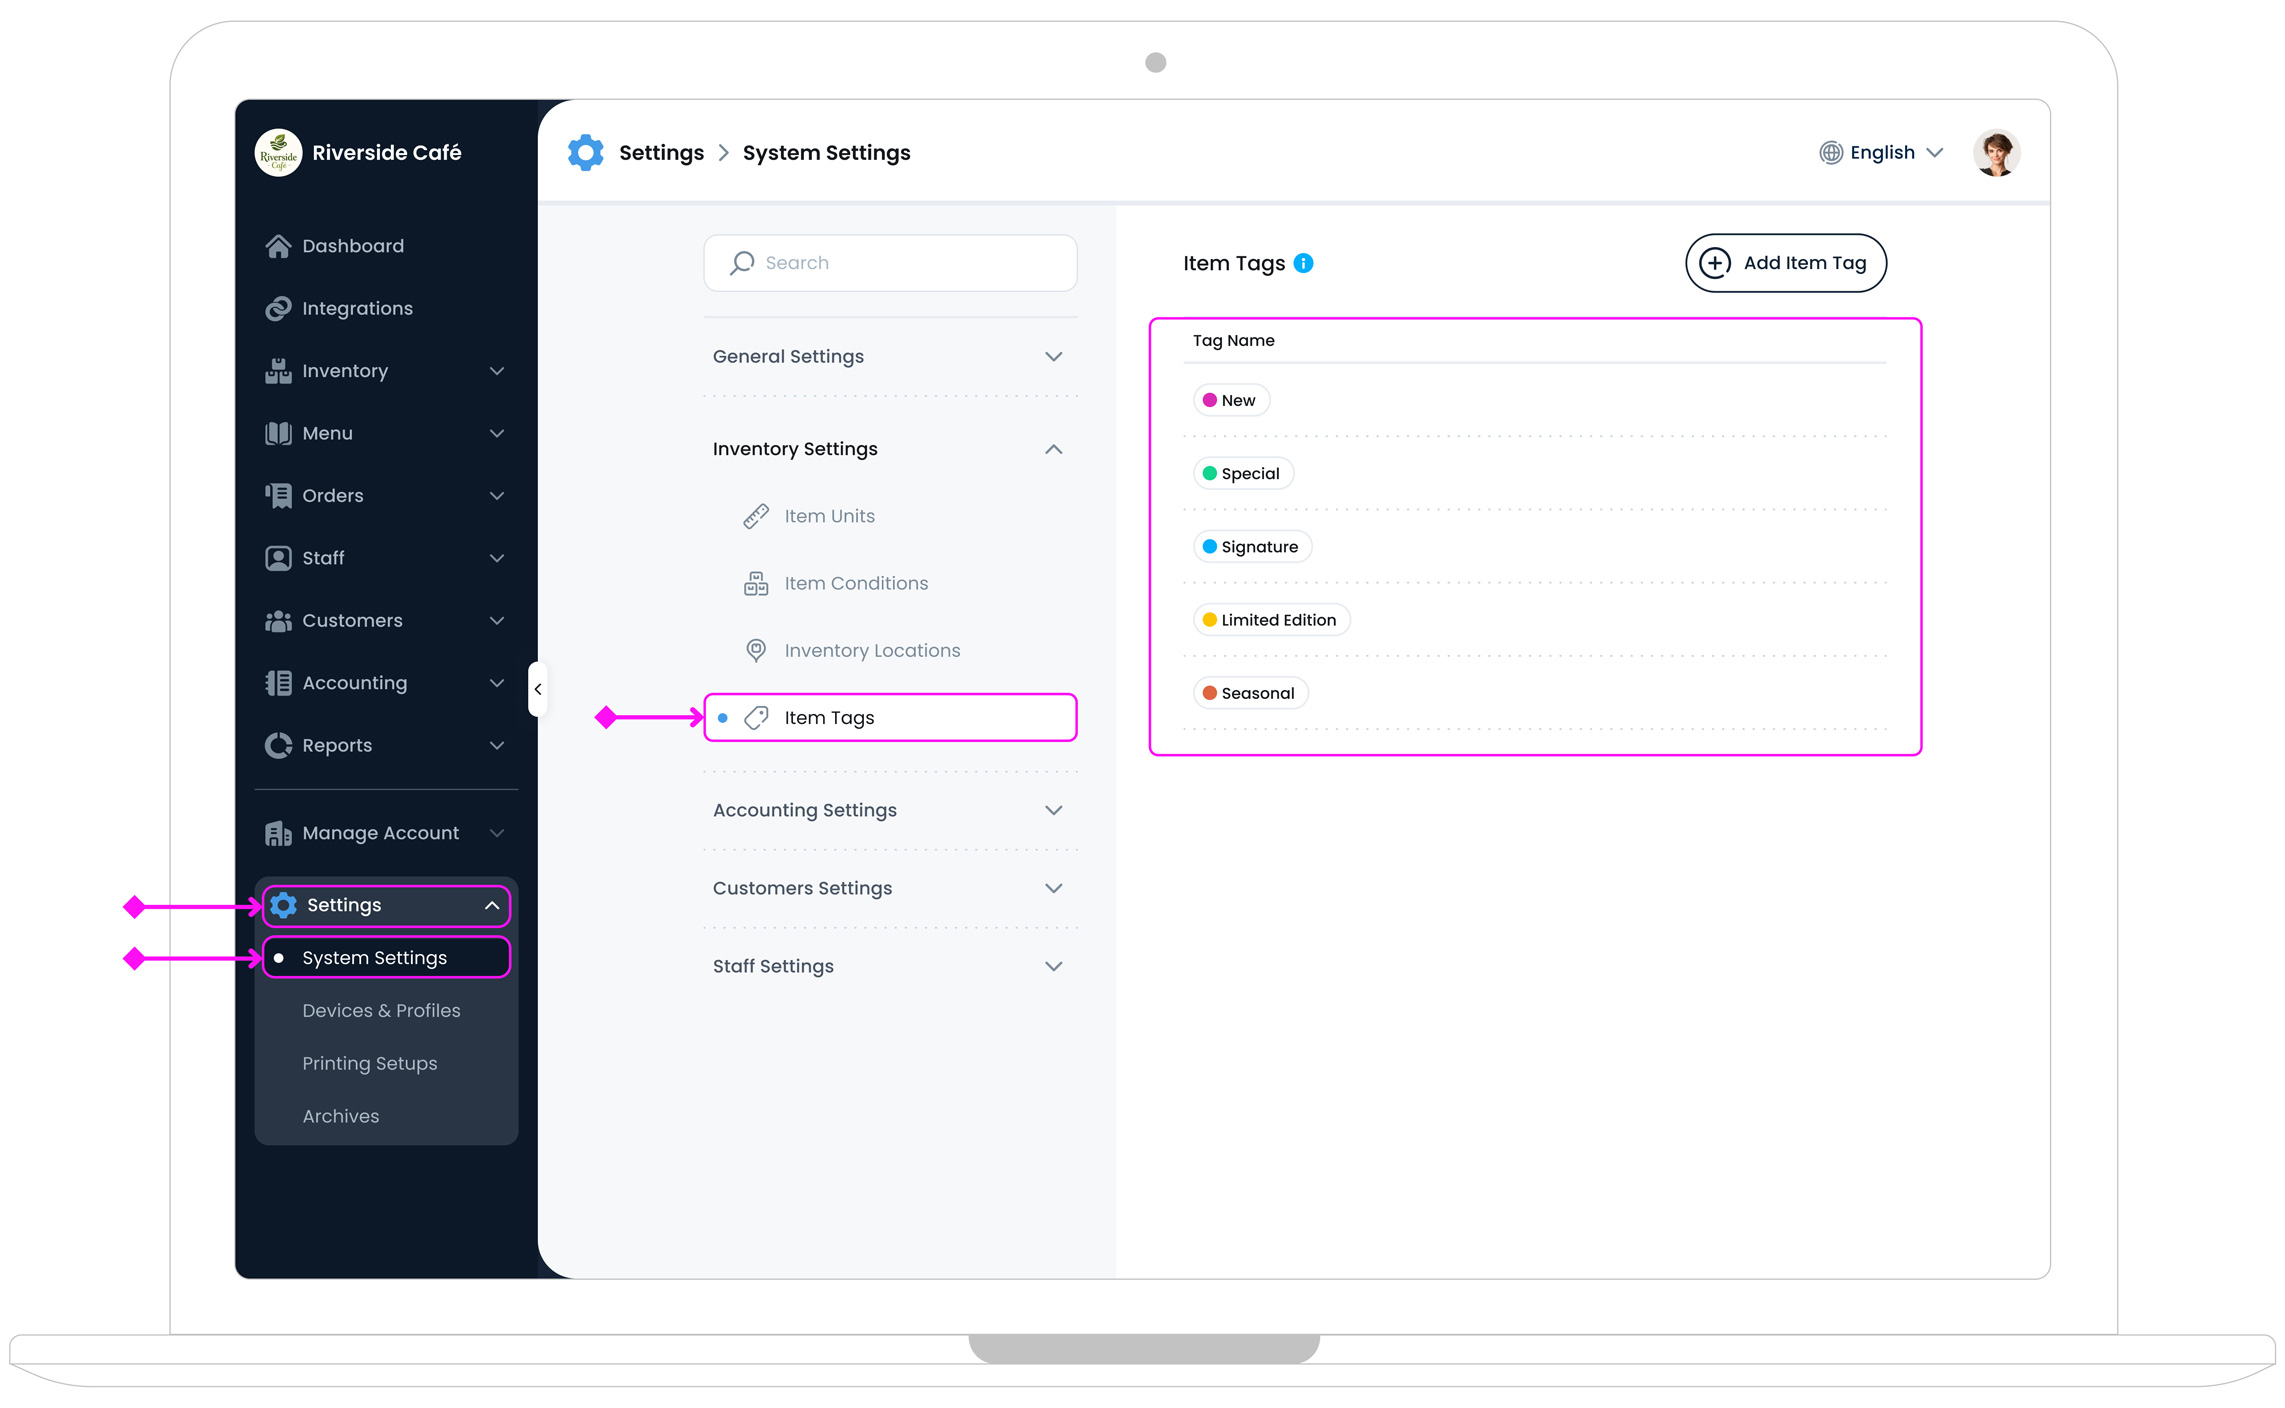
To Get Started
To access Item Tags settings, log in to the TechSuite portal and go to Settings > System Settings from the sidebar. Next, under the Inventory Settings section, click Item Tags. This page allows you to add and manage tags that can be assigned to items during setup.
Adding a New Item Tag
To add a new tag, click the Add Item Tag button 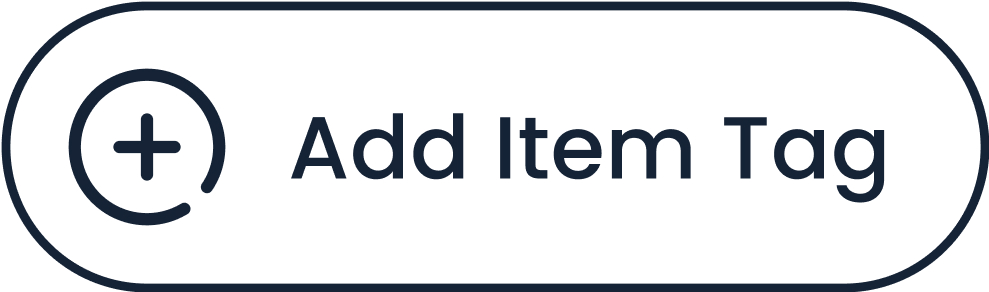 in the top-right corner of the Item Tags page. Then follow the steps below:
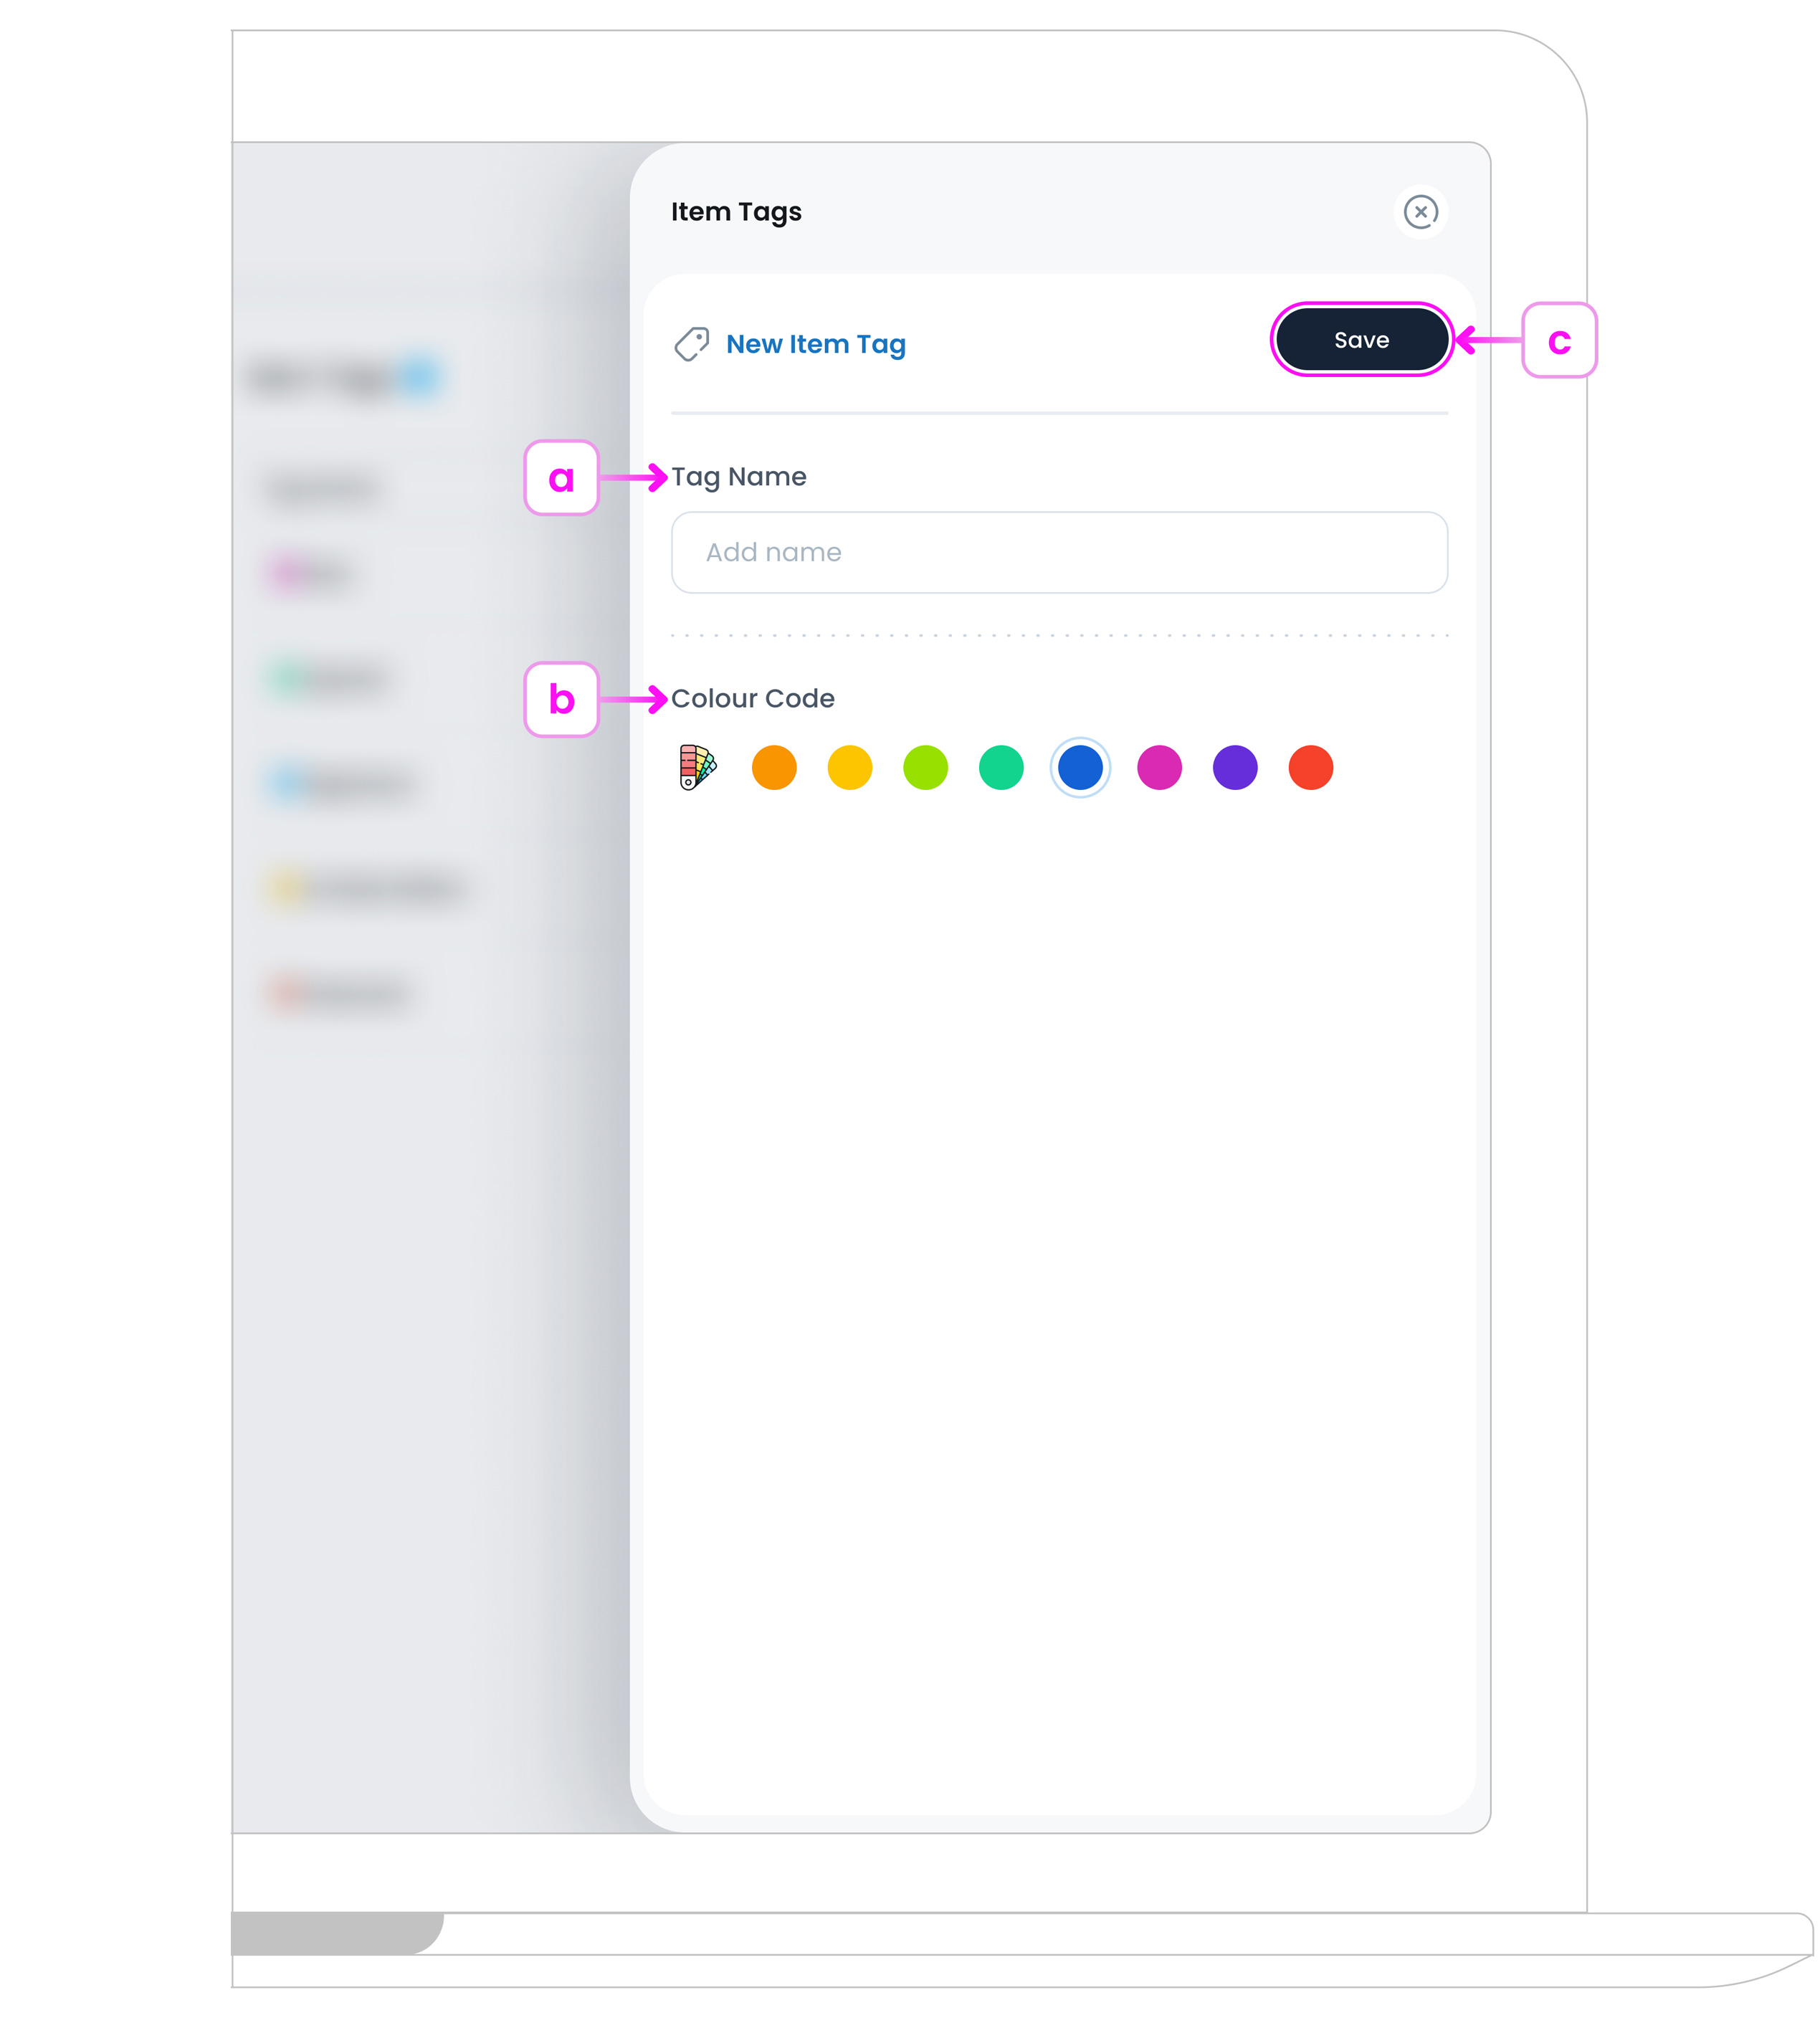
a. Tag Name
Enter a short, descriptive name for the tag (like Gluten-Free, Spicy, Chef’s Pick).
b. Tag Colour
Choose a colour to visually highlight the tag in menus and dashboards.
c. Save the Tag
Click the Save button  to add the new tag to your system. It will now appear in the item setup page and can be assigned to any item as needed.
Item Tags Page Overview
The Item Tags page lets you create, view, and manage tags used across your Item Library. Tags help categorise and filter items within your system, especially when you want to organise large menus or identify items by shared traits (like “Popular”, “Seasonal”, or “Vegan”).
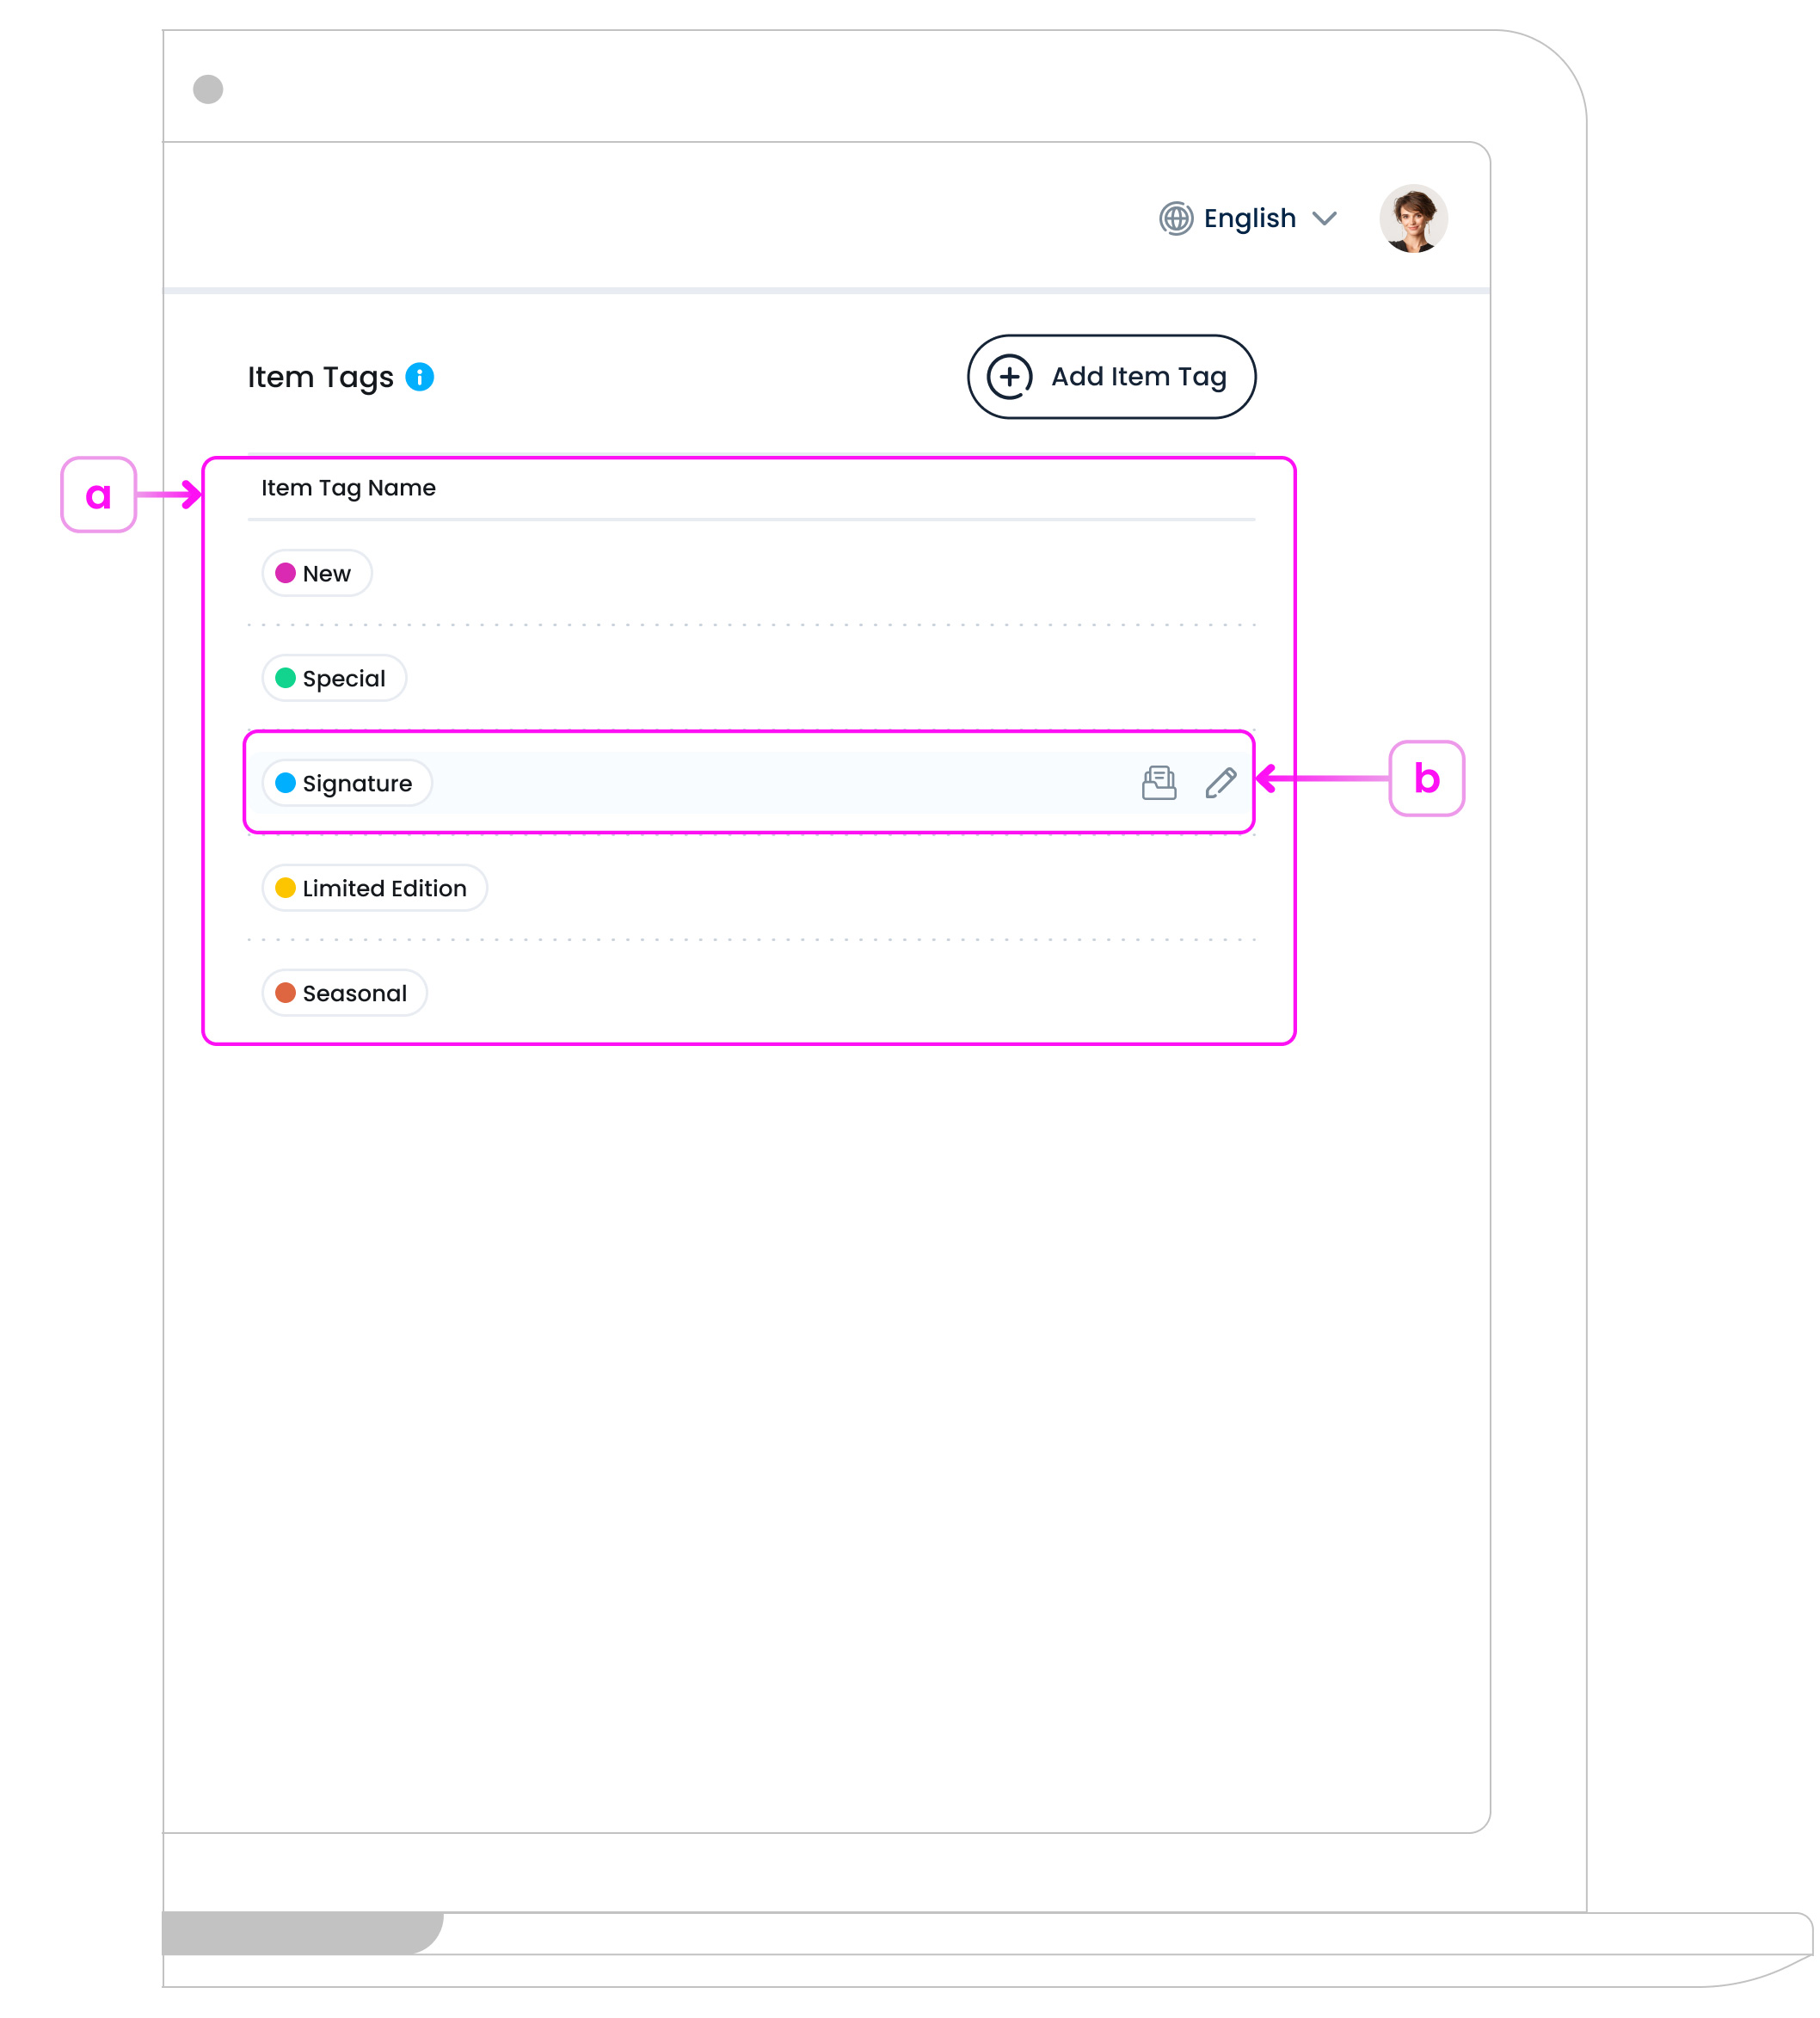
a. List of Added Tags
There are no built-in tags, this page starts empty. You can create any tag needed to suit your operations. For example, tags such as “Best Seller”, “Limited Edition”, or “Kids Menu” help teams and customers understand item context more easily across ordering platforms.
b. Understanding Item Tag Rows
Each tag appears as a row in the list with the following controls:

Here’s what each part of the row represents:
- Tag Name and Colour: Displays the tag label (e.g. Vegan, Spicy) along with its selected background colour.
- Edit Tag Button:An edit icon appears when you hover over a row. Click it to open and update the tag’s name or colour.
- Archive Tag Button: An archive icon appears when you hover over a row. Use this to delete the tag from the list while keeping a record of it in your system.
What’s Next?
Once Item Tags are created, you can assign them to items from the Allergens, Tags & Calories section within the item setup page. These tags will appear in menus and kiosks to help customers find relevant items.